I wanted to have a play with Chrome OS, but didn’t fancy compiling the code etc…
Fortunately, GdGt provide a VMDK that you can download, and be up and running in no time using VMWare workstation (or player for that matter)
Step 1 – Download Chrome OS VMDK
I downloaded a Chrome OS VMDK from GdGt – you can get it here:
http://gdgt.com/google/chrome-os/download/
Step 2 – Create a new VMWare machine

Select “I will install the operating system later”

As the guest operating system, select Linux, then Ubuntu
Others may work, but this is the one that worked for me.


You can choose whatever size to make the disk, since you will be replacing this anyway!

Click finish.

Step 3 – Edit the newly created machines settings
One the machine is created, click Edit virtual machine settings (before you power it on)

Select the Hard Disk, and click Remove

Then, press Add.
Select Hard Disk, and press next.

Select “Use an existing virtual disk”

Note:
At this stage, it would be sensible to unzip the downloaded file from gdgt to your ChromeOS VM Directory (in my case C:\VM\Chrome OS (if you haven’t done so already)
Then, click next in the above screen
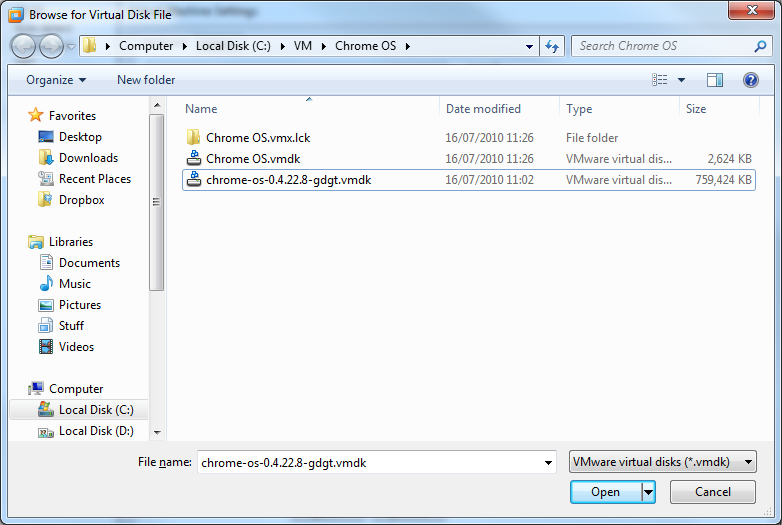
Select the chrome-os-0.4.22.8-gdgt.vmdk file, and click Finish.
If it asks you to convert the existing virtual disk to a newer format, just select “Keep Existing Format” and press Ok.
The new hard drive will be added.
Click Ok.
Step 4 – Power on the virtual machine
Power on the Virtual Machine, and after a few seconds, the login screen appears:

Enter your Google account username and password, and press enter
(note: you must be connected to the internet for this to work)
Ta Da!
