As part of a blog post on the LEDS stack (Linux Nginx Dotnet, SQL Server) I’m putting together, I wanted to see how easy it is to install SQL Server on a Ubuntu VM, running on Digital Ocean.
Turns out, very easy.
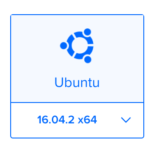
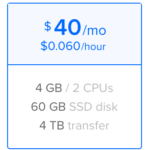
I went with a Ubuntu 16.04.2 x64 box, with 4GB of RAM
The docs state that you need at least 3.25GB of memory to run SQL Server on Linux.
Once my droplet had created, I SSH’d into it.
First, we need to import the public repository GPG keys, and register the Microsoft SQL Server Ubuntu repository
curl https://packages.microsoft.com/keys/microsoft.asc | sudo apt-key add -

curl https://packages.microsoft.com/config/ubuntu/16.04/mssql-server.list | sudo tee /etc/apt/sources.list.d/mssql-server.list
Then, it’s a simple
sudo apt-get update

sudo apt-get install -y mssql-server
And SQL Server is installed in around 2-4 minutes.
Next up, it tells you the command you’ll need to run:

Which is
sudo/opt/mssql/bin/mssql-conf setup
for those copying and pasting.
Once you’ve accepted the license terms (you do accept them, don’t you?) and chosen a secure SA password, setup is complete.
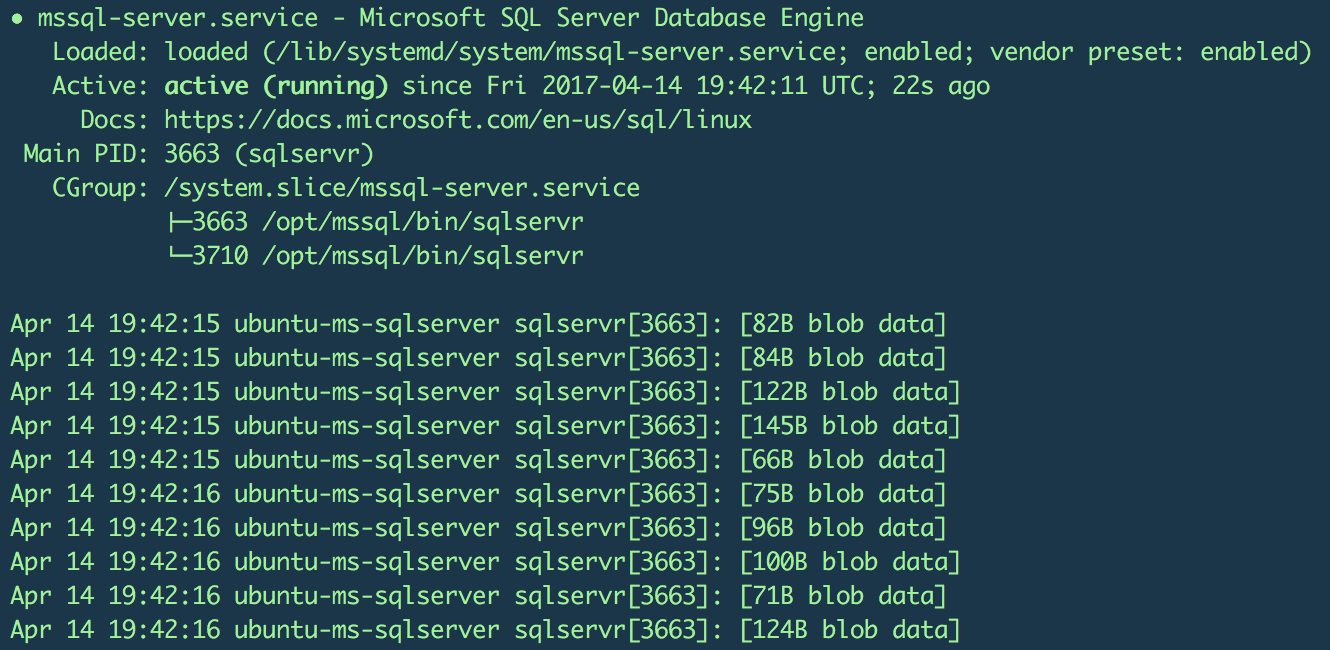
You can verify the service is running with:
systemctl status mssql-server
Back in Windows…
To test out your new SQL Server install on Linux, you can connect to it using SSMS (Windows)
I’m currently using SQL Server Management Studio – Release Candidate (17.0 RC3)
(I tested it with 2014, and it worked fine.)
Note:
Port 1433 was open on my VM, but it may be blocked with your firewall!
Restoring the Northwind database backup.
Ok, next let’s get a database up and running on our Linux SQL Server.
I downloaded the Northwind database backup to my local machine.
I used SCP to copy the backup of the Northwind database:
scp Northwind.bak.zip root@:/var/opt/mssql
This copies my Northwind.bak.zip file into /var/opt/mssql on the remote server.
I’m using a mac, so SCP is installed already.
If you’re on Windows, you’ll need to use something like WinSCP
Since I uploaded a zipped backup file, I’ll need to unzip it.
If the unzip command isn’t already installed on your system, then run:
sudo apt-get install unzip
Then it’s just a simple
unzip Northwind.bak.zip
Next, with SSMS locate the backup file, and restore in the usual way:
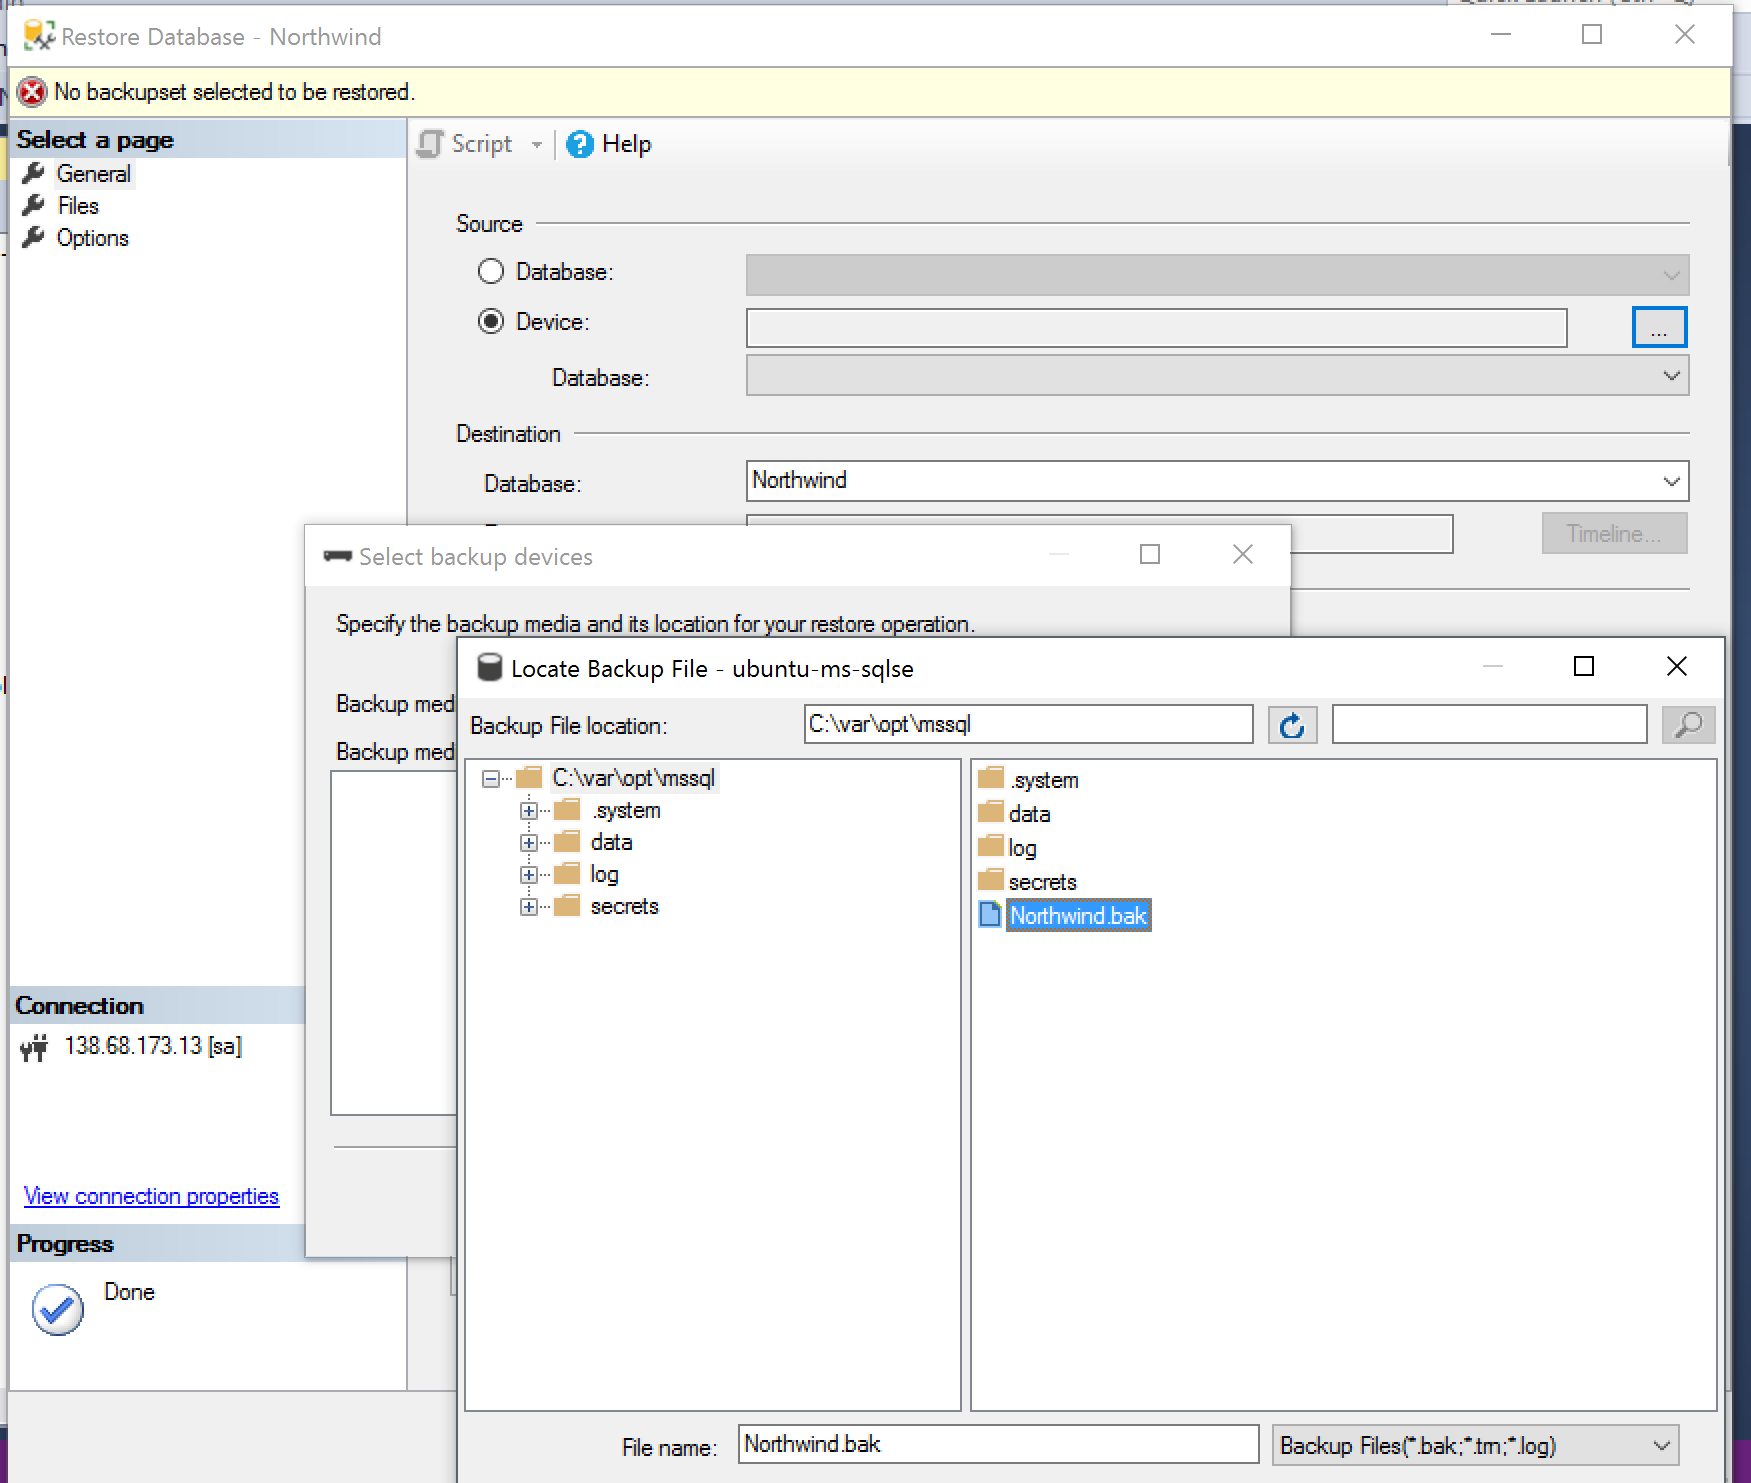
Note: SSM puts “C:\” in front of your path in the location bar
This can be ignored, but for some reason it does need to be there.
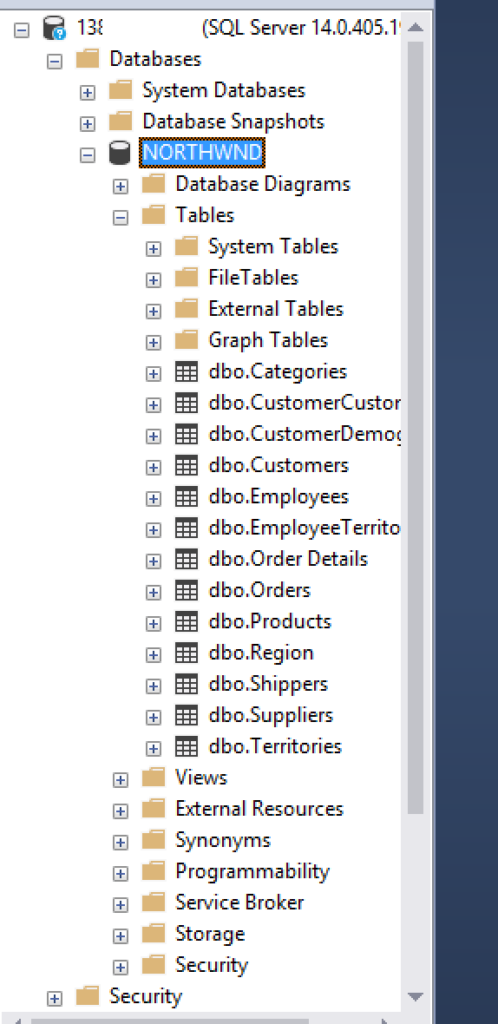
And there we have it. The Northwind database, restored on to a SQL Server instance, running on Linux, on a non-Microsoft cloud.